
Human anatomy illustration is a specialized discipline of biomedical visual communication that produces scientifically precise, clinically verified graphic representations of the human body – spanning gross anatomy, microscopic anatomy, surface anatomy, cross-sectional anatomy, and functional biomechanics – across all body systems, tissue types, and anatomical planes, for use in medical education, textbook and atlas publishing, clinical training, surgical procedure guidance, patient communication, and healthcare professional development. A professionally produced human anatomy illustration must satisfy simultaneous demands for morphological accuracy at the correct scale, clinical relevance appropriate to the intended professional audience, and visual clarity sufficient to communicate structural relationships that no radiological image or cadaveric photograph can replicate with comparable pedagogical efficiency. For medical students, anatomy educators, clinical publishers, surgeons, and healthcare communicators, the quality of the human anatomy illustration that represents the body directly determines how effectively the science of human structure is taught, learned, and applied.
The human body is the most studied subject in the history of science – and yet it remains extraordinarily difficult to communicate visually. Cadaveric dissection reveals anatomy through destruction of spatial relationships. Radiological imaging captures density rather than structure. Photography records surface and texture but loses depth hierarchies. Human anatomy illustration alone can present the musculoskeletal system, the vascular supply, the nerve plexuses, and the visceral relationships simultaneously, in a single, precisely constructed image designed for a specific educational purpose.
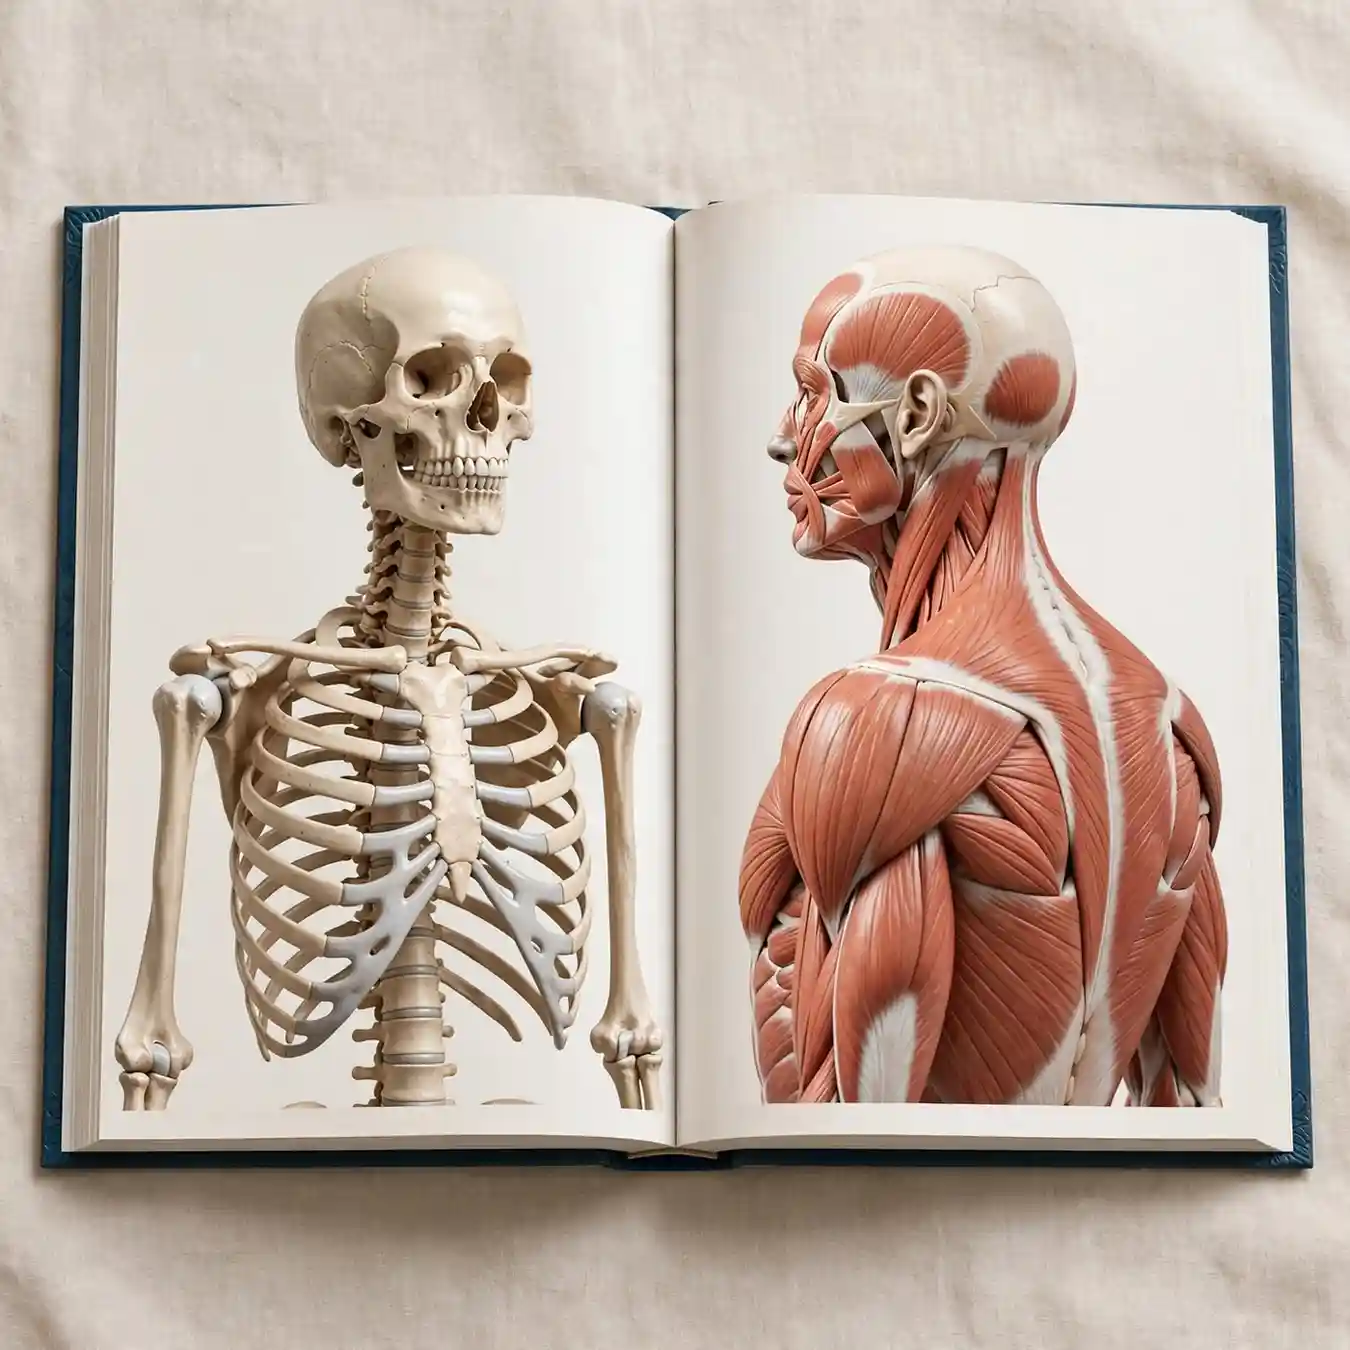
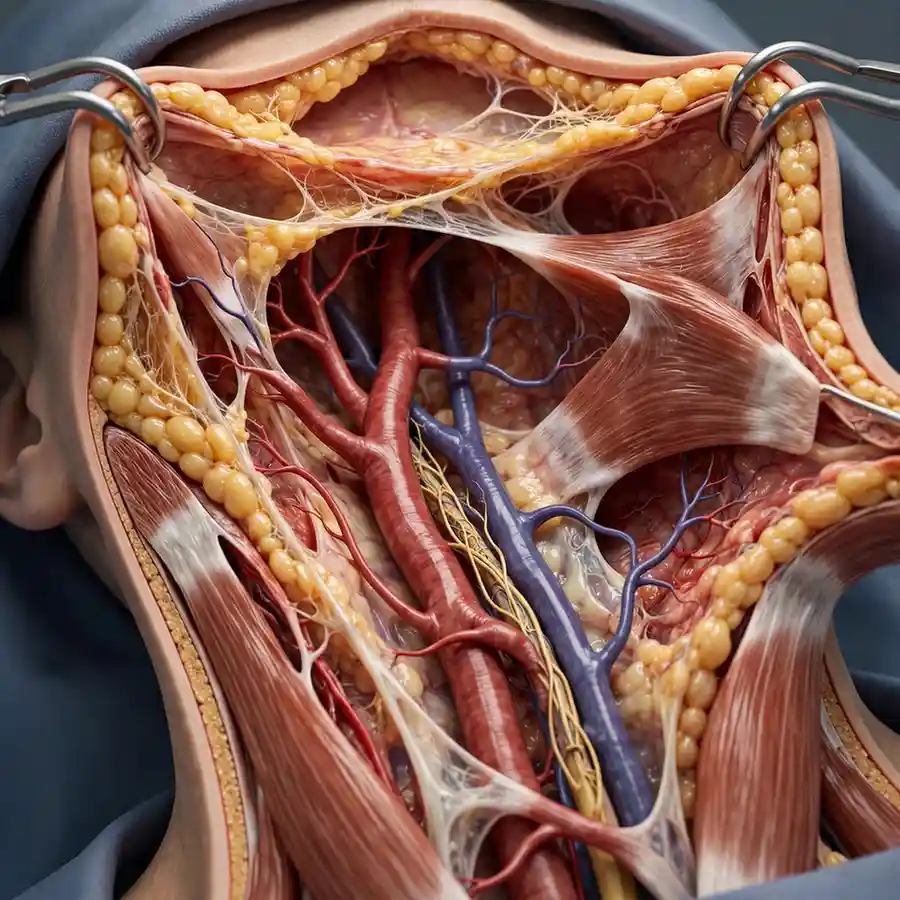
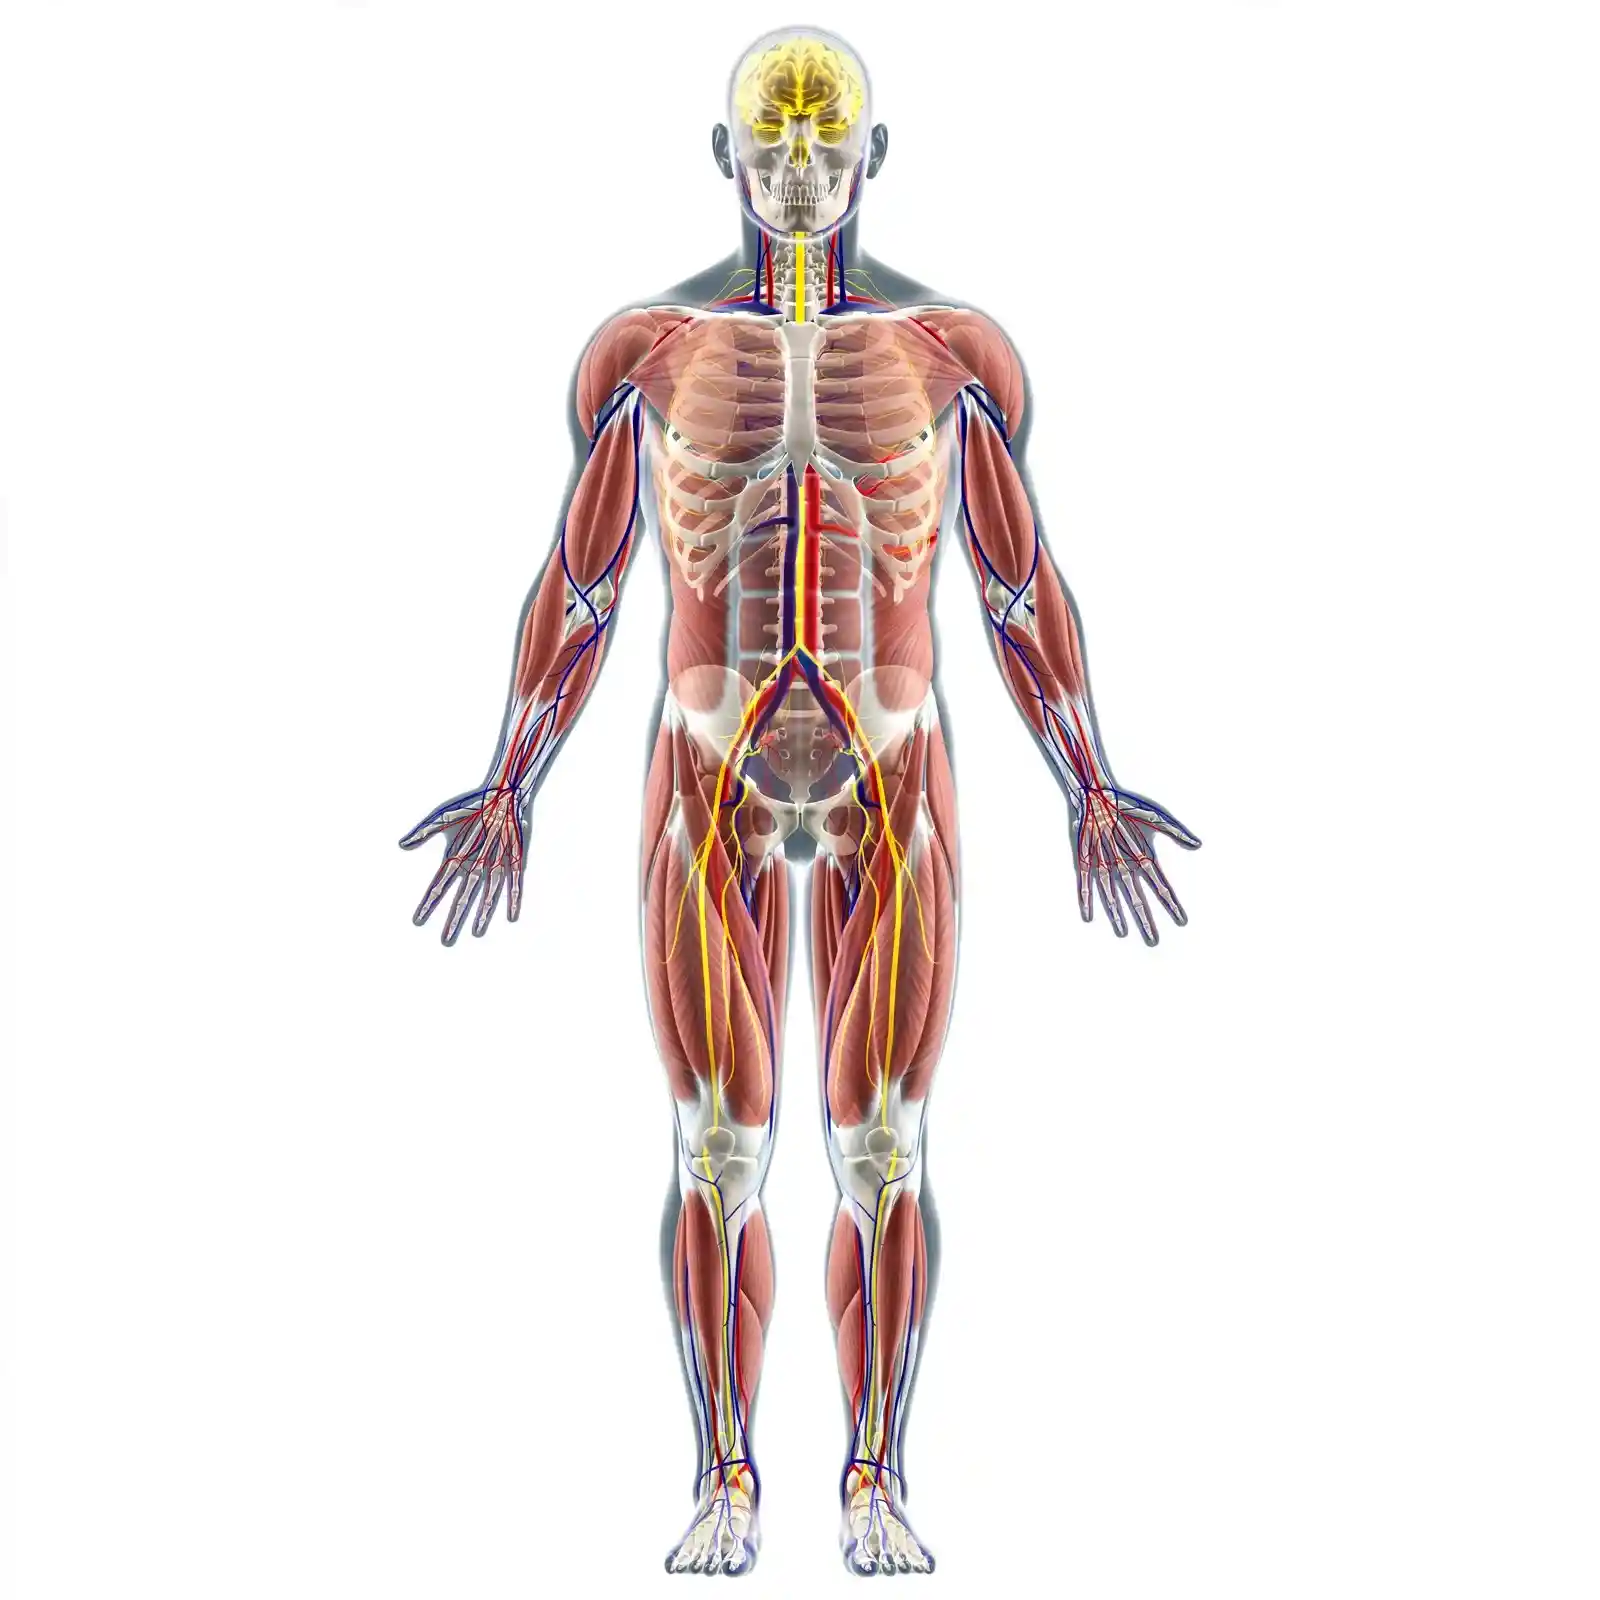
This guide covers everything medical professionals, educators, and publishers need to know: what human anatomy illustration is, its evolution from the Renaissance to the digital era, the types available across all body systems, how exceptional work is produced, and how to commission illustration that genuinely serves clinical and educational outcomes.
For medical professionals, anatomy educators, and publishers requiring custom human anatomy illustration and body systems visualization services built on formal biomedical training and established anatomical reference standards, The Medical Illustration Company delivers publication-quality assets with unlimited revisions and full copyright ownership transfer.
What is Human Anatomy Illustration?
Human anatomy illustration is the practice of creating visually accurate, pedagogically purposeful graphic representations of the human body’s structures, systems, and spatial relationships.
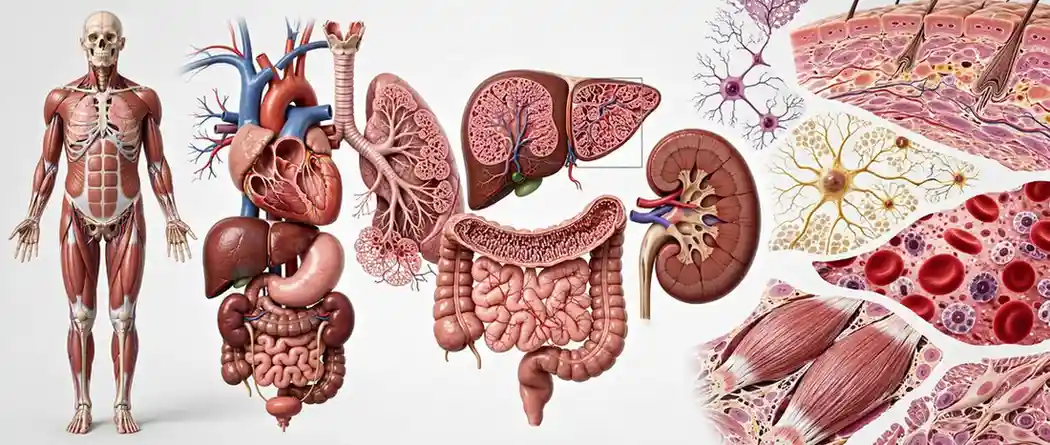
The discipline differs fundamentally from other forms of medical visualization in three critical ways:
- Morphological fidelity at multiple scales – Human anatomy illustration must be accurate at gross anatomy scale (organ systems visible to the naked eye), histological scale (tissue microstructure), and ultrastructural scale (cellular and subcellular architecture). Each scale demands different source references, different illustration techniques, and different levels of structural detail.
- Spatial relationship communication – The unique educational value of anatomy illustration lies in its ability to show spatial relationships between structures: how the brachial plexus roots relate to the scalene muscles, where the common hepatic artery originates relative to the portal vein, or how the phrenic nerve descends anterior to the lung hilum. These relationships are precisely what cadaveric dissection disrupts and radiological imaging obscures.
- Clinical correlation specificity – The best anatomy illustrations are not pure structural diagrams. They incorporate clinical correlation: showing where a surgical approach penetrates, how a nerve compression produces a specific dermatome deficit, or why a specific fracture pattern threatens the arterial supply to a joint.
Quick Definition for Featured Snippets: Human anatomy illustration is the creation of scientifically accurate visual representations of the human body’s structural organization – including gross anatomy, histology, cross-sectional anatomy, and functional biomechanics – used in medical education, textbooks, clinical training, surgical guidance, and patient communication.
A Brief History: From Da Vinci to Digital Anatomy Illustration
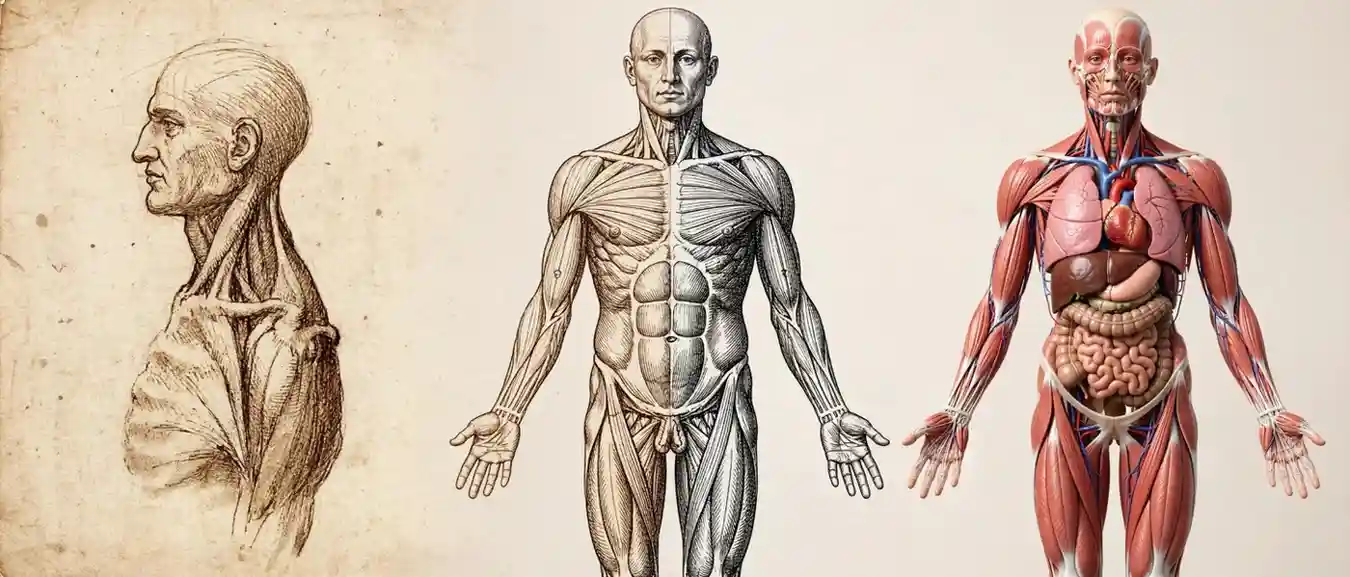
Understanding the evolution of anatomical illustration explains why certain conventions and standards persist in modern work – and why professional anatomical illustrators train for years before producing publication-grade work.
The Renaissance Foundations
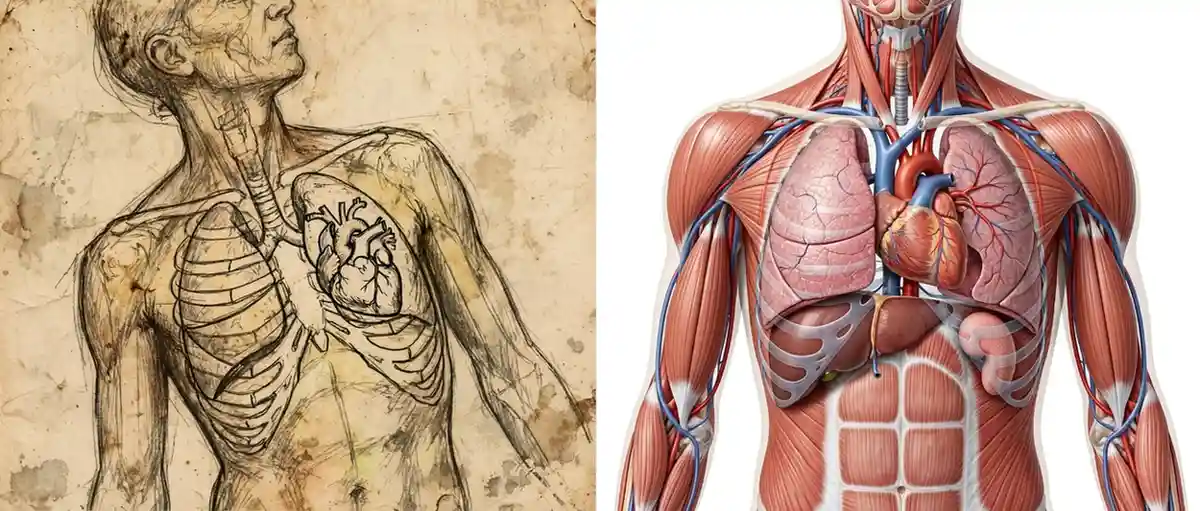
The tradition of precise human anatomy illustration begins with Leonardo da Vinci’s anatomical notebooks in the late 15th and early 16th centuries. Working from direct cadaveric dissection, Leonardo produced over 240 anatomical drawings of extraordinary precision – depicting the heart’s chambers, the fetus in utero, and the mechanics of shoulder musculature with a spatial understanding that was not matched for generations.
The formal publication milestone came in 1543 with Andreas Vesalius’s De Humani Corporis Fabrica – a collaboration between the Flemish anatomist and artists from Titian’s workshop that established the gold standard for anatomical accuracy and artistic quality combined. This work effectively founded the tradition of illustrator-anatomist collaboration that defines professional anatomy illustration to this day.
Gray’s Anatomy and the Modern Standard
In 1858, Henry Gray published his Anatomy: Descriptive and Surgical, with illustrations produced by Henry Vandyke Carter. The resulting work – universally known as Gray’s Anatomy – established the principle that anatomical illustration should serve clinical function above artistic ambition. Carter’s illustrations prioritized structural clarity, consistent viewing planes, and surgical utility over decorative quality.
As NIH-published research on the history of medical illustration documents, subsequent generations of anatomical illustrators – particularly Frank H. Netter, whose work for the CIBA collection defined mid-20th-century anatomy teaching – refined the tradition through meticulous oil and gouache technique, producing illustrations of unmatched clinical richness that remain in active educational use decades after their creation.
The Digital Era
The transition to digital illustration tools from the 1990s onward transformed production workflows without changing the fundamental requirements of anatomical accuracy and clinical relevance. Today’s anatomy illustrators work in Adobe Illustrator, Photoshop, ZBrush, Cinema 4D, and specialized biomedical visualization software – but they reference the same anatomical atlases, cross-sectional imaging datasets, and dissection resources that their predecessors used.
The emergence of 3D anatomy illustration has added a new capability: interactive and multi-perspective anatomical rendering that allows viewers to explore structures from any angle, layer by layer. For an in-depth overview of how 3D anatomical visualization is produced and where it differs from 2D illustration, the linked resource provides a comprehensive technical comparison.
Why Medical Professionals Rely on Anatomical Illustration
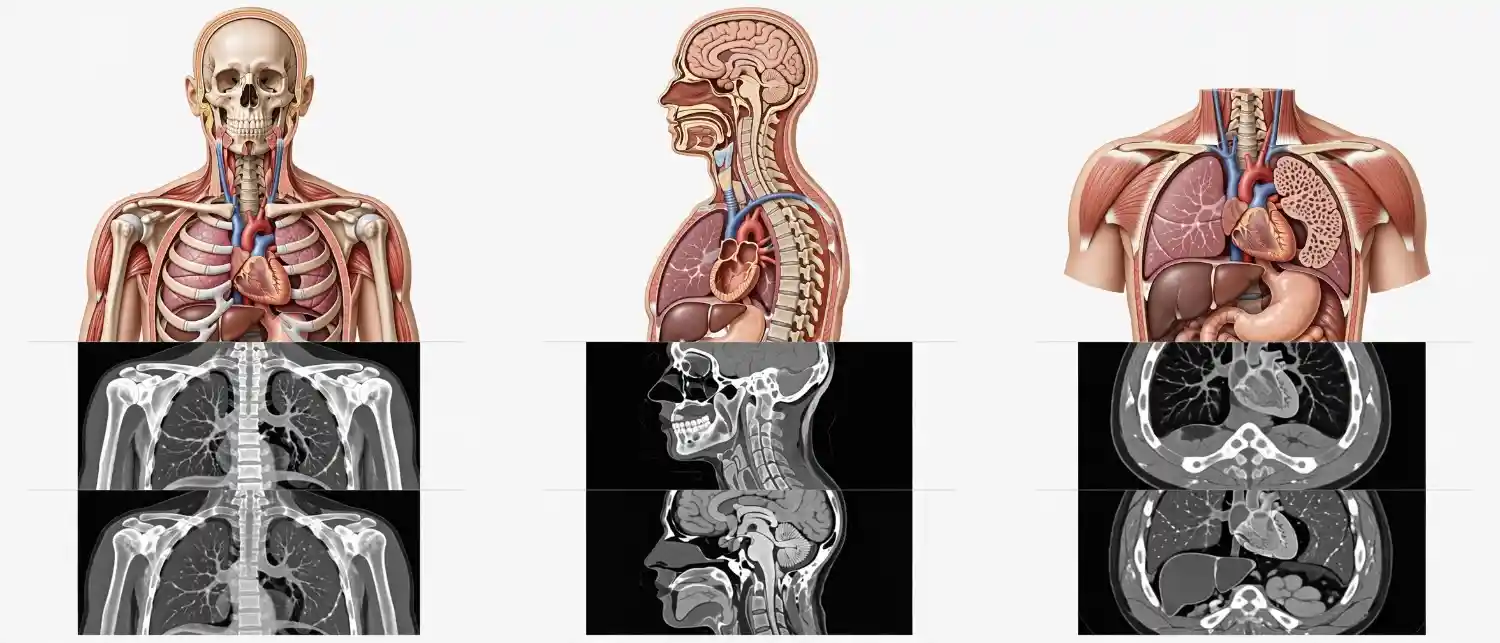
The question of why human anatomy illustration remains essential in an era of high-resolution CT, MRI, and cadaveric video resources has a precise answer: illustration does things that no other medium can do.
It Teaches Spatial Relationships That Dissection Destroys
Surgical dissection reveals anatomy sequentially – each layer exposed only after the previous one is removed. Radiology shows cross-sectional density. Neither medium communicates the three-dimensional spatial relationship between structures as effectively as a well-constructed anatomical illustration showing the deep and superficial layers simultaneously within a single organized image.
It Supports Consistent Terminology Across Institutions
Medical education across institutions requires standardized anatomical nomenclature aligned with the Terminologia Anatomica (TA2) framework. Quality human anatomy illustrations consistently label structures using standardized terminology, creating a shared visual-linguistic reference that supports accurate communication across clinical specialties and national borders.
It Enables Clinical Correlation That Cadavers Cannot Provide
A cadaveric specimen shows structure. An anatomy illustration can simultaneously show structure, innervation territory, vascular supply watershed zone, common surgical access routes, and the clinical consequences of structural compromise – all in a single, well-designed figure. This clinical correlation layer is what makes anatomical illustration irreplaceable in the training of clinicians, not just basic scientists.
It Serves Patient Communication at the Point of Care
Surgeons who explain procedures visually to patients before consent generate better-informed patients, stronger therapeutic alliances, and reduced medico-legal exposure. A clear human anatomy illustration showing the surgical site, the targeted structure, and the anatomical relationships involved communicates in seconds what a verbal description of the same content requires minutes to convey – often less successfully.
The broader evidence base for why anatomical visuals are foundational to medical education and clinical communication confirms that visual learning improves comprehension, retention, and practical skill transfer in medical training contexts.
Types of Human Anatomy Illustration
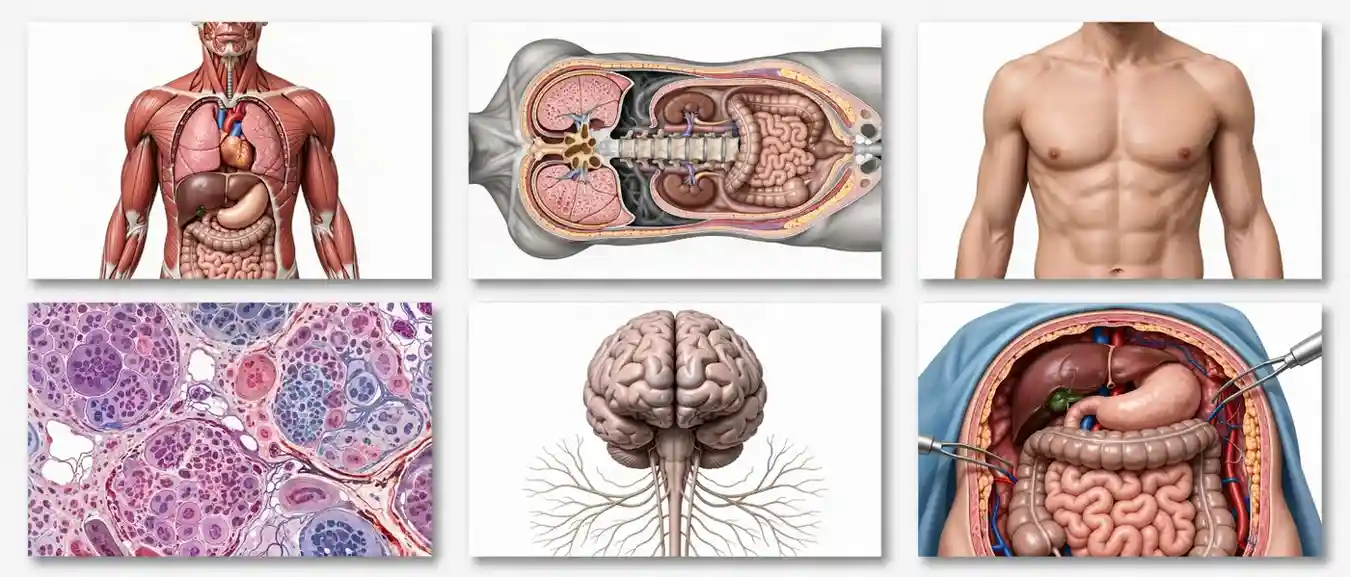
Each type of anatomy illustration serves a distinct educational purpose and requires specific technical expertise.
Gross Anatomy Illustration
The most widely commissioned type, gross anatomy illustrations depict whole body regions, organ systems, or anatomical dissection views at a scale visible to the unaided eye. These range from whole-body overview diagrams showing all major systems to detailed regional illustrations covering, for example, the neurovascular relationships of the posterior triangle of the neck or the contents of the femoral triangle.
Gross anatomy illustrations serve medical textbooks, anatomy atlases, surgical training materials, clinical pocket guides, and medical school lecture resources.
Cross-Sectional and Radiological Correlation Illustration
Cross-sectional anatomy illustrations depict the body in transverse, sagittal, and coronal planes, directly correlating with the imaging planes used in CT and MRI. These illustrations serve a critical bridging function: teaching anatomy students to mentally translate the familiar gross anatomy views they learn from atlases into the cross-sectional perspectives they will encounter in clinical radiology.
Surface Anatomy Illustration
Surface anatomy illustrations depict anatomical landmarks as they appear through intact skin: the bony landmarks of clinical examination, the surface projection of deep structures (the course of the radial artery at the wrist, the projection of the common peroneal nerve around the fibular neck, the surface marking of the pleural reflection). These are essential for clinical skills training, physical examination teaching, and procedural skills programs.
Histological and Microscopic Anatomy Illustration
Histological illustrations depict tissue microarchitecture at light microscopy and electron microscopy scales: the layered structure of the intestinal wall, the cellular organization of hepatic lobules, the architecture of the renal corpuscle, or the ultrastructure of the neuromuscular junction. These serve histology and cell biology courses, research publications, and pathology teaching where normal tissue architecture must be distinguished from pathological change.
Functional and Biomechanical Illustration
Functional anatomy illustrations depict not just structure but movement mechanics: joint range of motion, muscle force vector diagrams, tendon and ligament tension patterns under load, and spinal biomechanics. These are essential for physiotherapy, sports medicine, orthopedic surgery, and rehabilitation medicine training.
Neuroanatomy Illustration
Neuroanatomy illustration addresses one of the most complex and three-dimensionally challenging subjects in all of medicine: the central and peripheral nervous system. These illustrations cover brain sectional anatomy, spinal cord cross-sectional organization, peripheral nerve distribution maps (dermatomal maps, myotomal territories, nerve plexus diagrams), and autonomic nervous system pathway charts. Given the clinical consequences of neurological misunderstanding, neuroanatomy illustrations carry particularly demanding accuracy requirements.
Surgical Anatomy and Procedural Illustration
Surgical anatomy illustrations depict the anatomical context of specific surgical approaches: the tissue planes entered in a laparotomy, the neurovascular structures at risk in a total hip arthroplasty, or the anatomical steps of a laparoscopic cholecystectomy. These illustrations are used in surgical textbooks, operative atlases, surgical training programs, and simulation curricula.
For anatomy illustrations specifically incorporated into video-based learning, the practical guide to integrating anatomy illustrations into clinical training programs outlines the format and resolution requirements for video-embedded anatomical content.
Key Body Systems and Their Illustrative Challenges
Every body system presents distinct anatomical illustration challenges that require specific expertise and reference knowledge.
Application Table: Human Anatomy Illustration by Body System
| Body System | Illustration Complexity | Key Illustrative Challenge | Primary Use Context |
|---|---|---|---|
| Musculoskeletal | High | Showing deep and superficial layers simultaneously; accurate attachment origins and insertions | Anatomy textbooks, physiotherapy education, orthopedic surgery training |
| Cardiovascular | Very high | Accurate coronary artery territory mapping; cardiac chamber spatial relationships; vascular branching patterns | Cardiology training, cardiac surgery, patient consent |
| Neurological | Extremely high | Three-dimensional pathway tracing; dermatome accuracy; cranial nerve exit foramina | Neurology, neurosurgery, physiotherapy, medical student education |
| Respiratory | High | Bronchopulmonary segment accuracy; pleural boundary precision; mediastinal relationship illustration | Respiratory medicine, thoracic surgery, clinical anatomy |
| Digestive | High | Peritoneal reflection accuracy; mesenteric attachment patterns; portal venous system | General surgery, gastroenterology, abdominal imaging |
| Reproductive | High | Pelvic floor spatial complexity; topographical relationships in confined anatomical space | Gynecology, urology, obstetrics, pelvic surgery |
| Urinary | Moderate-High | Retroperitoneal spatial relationships; nephron ultrastructure accuracy | Urology, nephrology, renal physiology teaching |
| Endocrine | Moderate | Microscopic glandular architecture; pituitary-hypothalamic axis spatial representation | Endocrinology, histology courses, surgical anatomy |
| Lymphatic | High | Lymph node station mapping; vessel visualization in complex regional dissection | Oncological surgery, immunology, lymphology |
| Integumentary | Moderate | Skin layer microstructure; hair follicle and gland ultrastructure; wound healing sequence | Dermatology, plastic surgery, wound care education |
What Makes Exceptional Human Anatomy Illustration
The difference between adequate and exceptional human anatomy illustration is measurable – and immediately visible to any trained anatomist or clinician.
Reference source hierarchy: Exceptional anatomy illustrations are produced from a documented reference hierarchy: primary anatomical atlases (Gray’s Anatomy, Netter’s Atlas, Sobotta), supplemented by cross-sectional imaging datasets, cadaveric dissection photographs, and specialist clinical anatomy textbooks for the relevant region. Every structural label and every depicted spatial relationship should be traceable to a specific reference source.
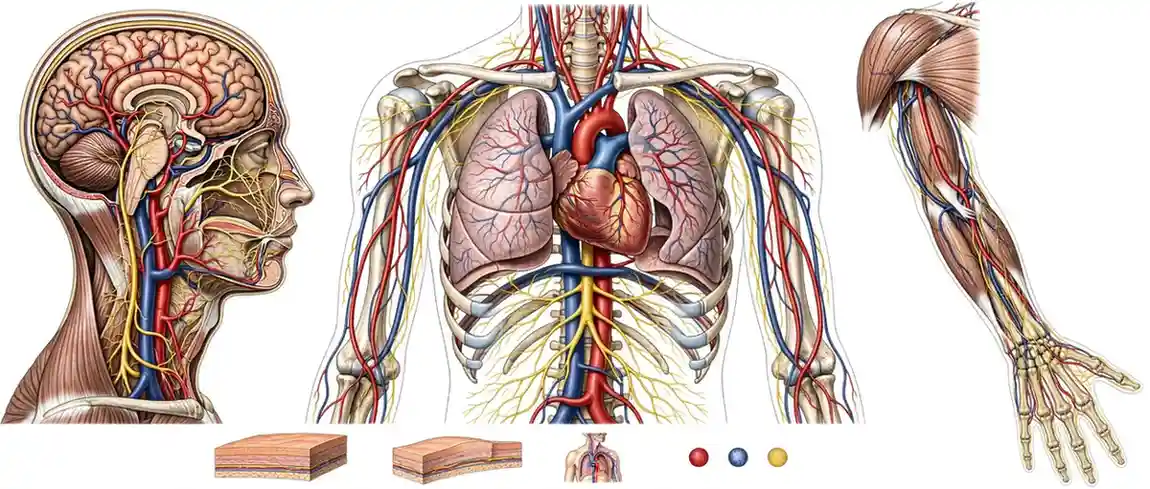
Anatomical plane consistency: A single illustration series must maintain consistent anatomical plane conventions throughout. Structures shown in anterior view must all be depicted from the same standardized anterior perspective. Mixing viewing planes within a series without explicit labeling creates spatial confusion that undermines the educational value of every illustration in the set.
Color convention adherence: Professional anatomical illustration follows established color conventions: arterial structures in red, venous structures in blue, neural structures in yellow, lymphatic structures in green, and bone in a warm ivory or cream. Departures from these conventions require explicit legend notation. Illustrators who ignore convention for aesthetic reasons produce illustrations that confuse rather than clarify.
Label placement and nomenclature accuracy: Labels must use Terminologia Anatomica-standard nomenclature, be placed with leader lines that connect unambiguously to the target structure, and be sized for legibility at the intended reproduction scale. An illustration whose labels become illegible when printed at textbook size has failed its clinical purpose regardless of its artistic quality.
Clinical correlation integration: The most valuable anatomy illustrations do not simply depict structure – they show clinical relevance. This means including surgical access indicators, at-risk structure annotations, clinical examination correlation notes, or pathological vulnerability indicators as appropriate to the intended professional audience.
The Human Anatomy Illustration Production Process: Step by Step
Producing a human anatomy illustration to the standard required by medical textbook publishers, anatomy educators, and clinical training programs follows a disciplined, multi-stage workflow.

Step 1: Clinical and Educational Brief The process begins with a precise brief: the anatomical region to be depicted, the body system focus, the viewing angle and anatomical plane, the level of detail required, the intended professional audience, the reproduction format (print textbook, digital platform, lecture slide, patient leaflet), and all available reference materials. The more precisely the brief specifies the clinical or educational purpose of the illustration, the more accurately the illustrator can calibrate every production decision.
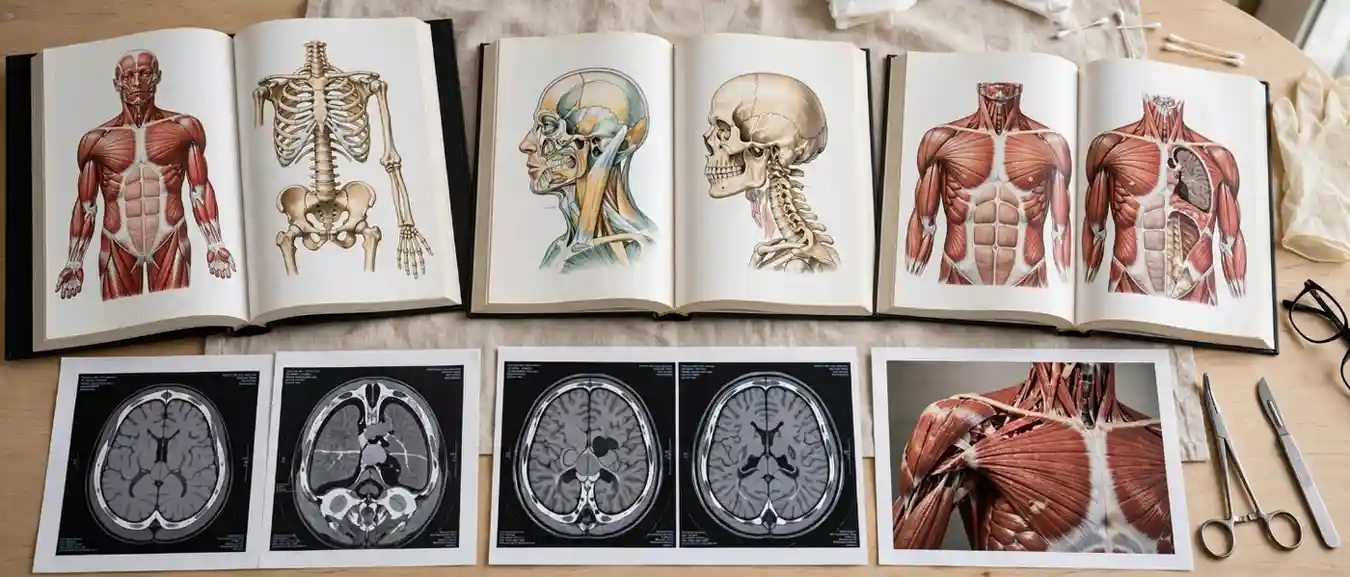
Step 2: Reference Material Assembly The illustrator assembles a reference hierarchy: primary anatomical atlas plates for the relevant region, cross-sectional imaging datasets for spatial orientation, specialist regional anatomy textbooks for structure identification, and any client-supplied clinical materials (surgical videos, cadaveric photographs, imaging from the relevant patient population). For complex neuroanatomical or cardiovascular subjects, published dissection studies from peer-reviewed anatomy journals provide additional accuracy verification.
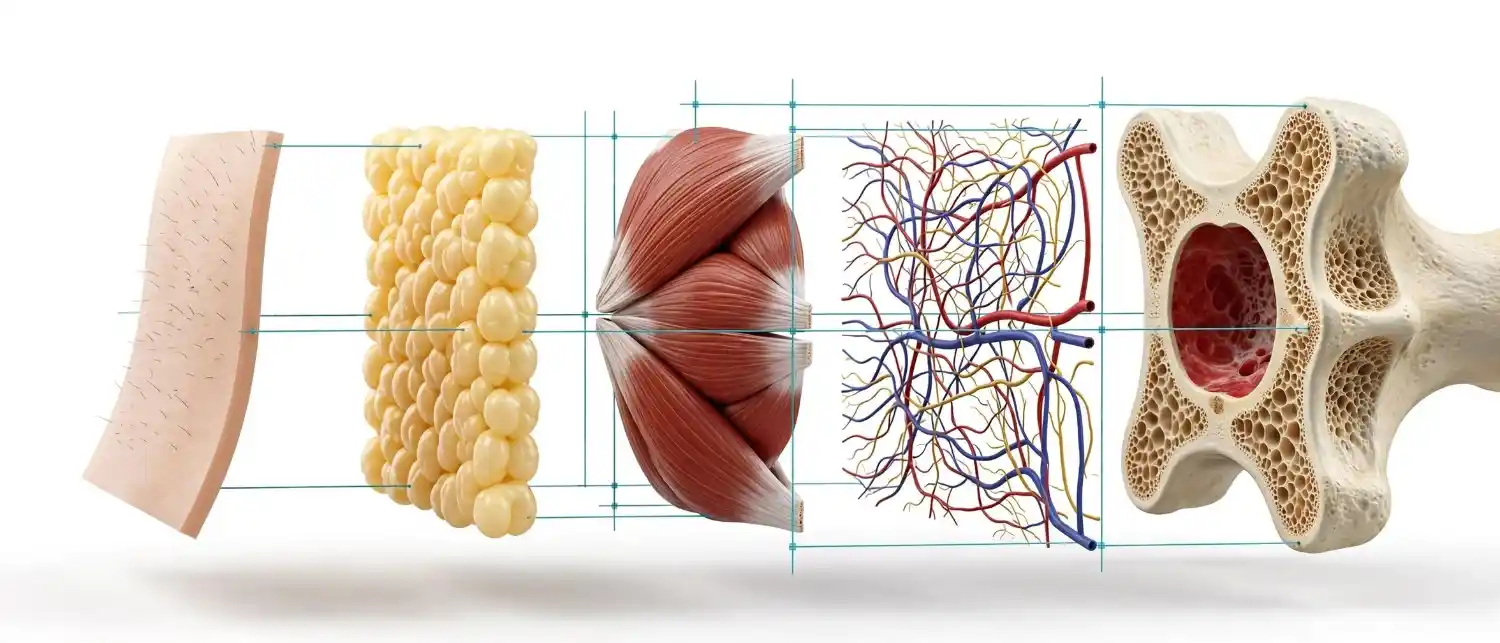
Step 3: Structural Mapping and Spatial Planning Before any illustration begins, the illustrator maps the structures to be depicted: their spatial hierarchy (which structures are superficial, which are deep), their anatomical relationships to each other, and the viewing plane that best communicates those relationships for the intended educational purpose. For regional anatomy illustrations, this stage produces a structural priority list that determines what is shown, what is omitted, and what is shown in partial transparency.
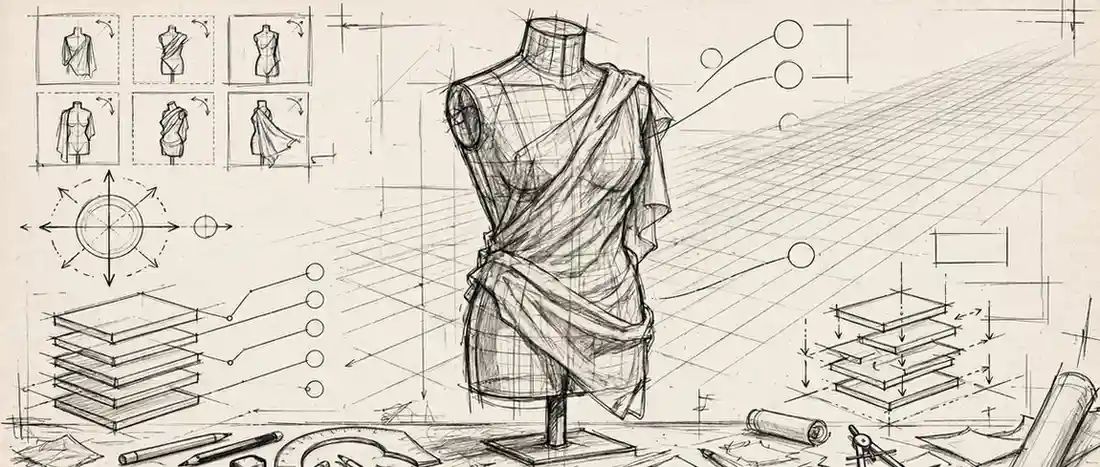
Step 4: Rough Compositional Sketch A rough sketch establishes the composition: overall body or regional orientation, viewing plane, the depth layering approach (fully opaque surface layer, partially transparent deep layers, or exploded view separation), and label placement zones. This sketch is reviewed by the client’s anatomist or clinical reviewer before detailed illustration begins.
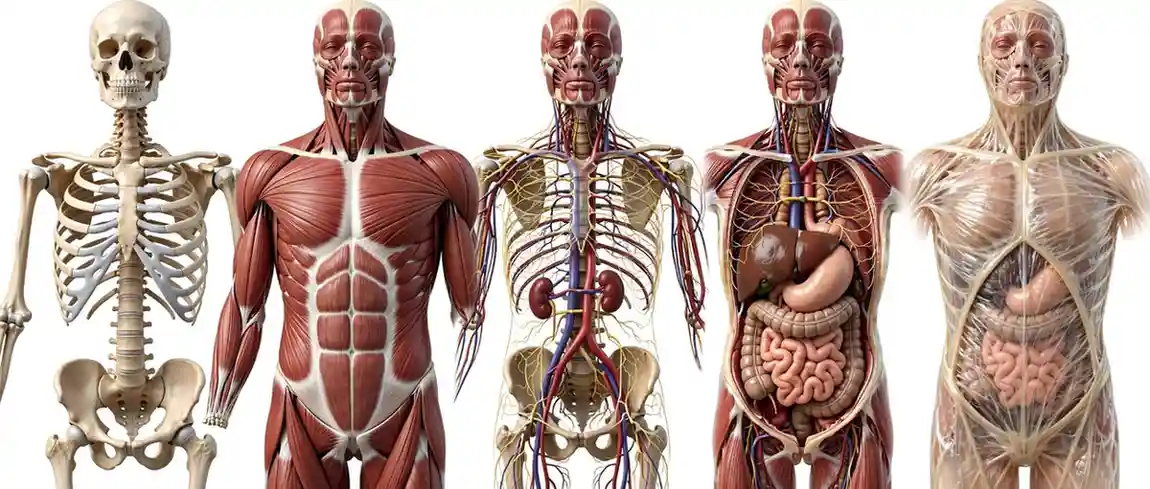
Step 5: Detailed Anatomical Construction The illustrator builds the full anatomical illustration: skeletal framework first as the spatial anchor, then muscle layers, then neurovascular bundles, then viscera and fascia as appropriate. Each structural layer is constructed in isolation and then composited with accurate spatial positioning relative to the layers above and below it.
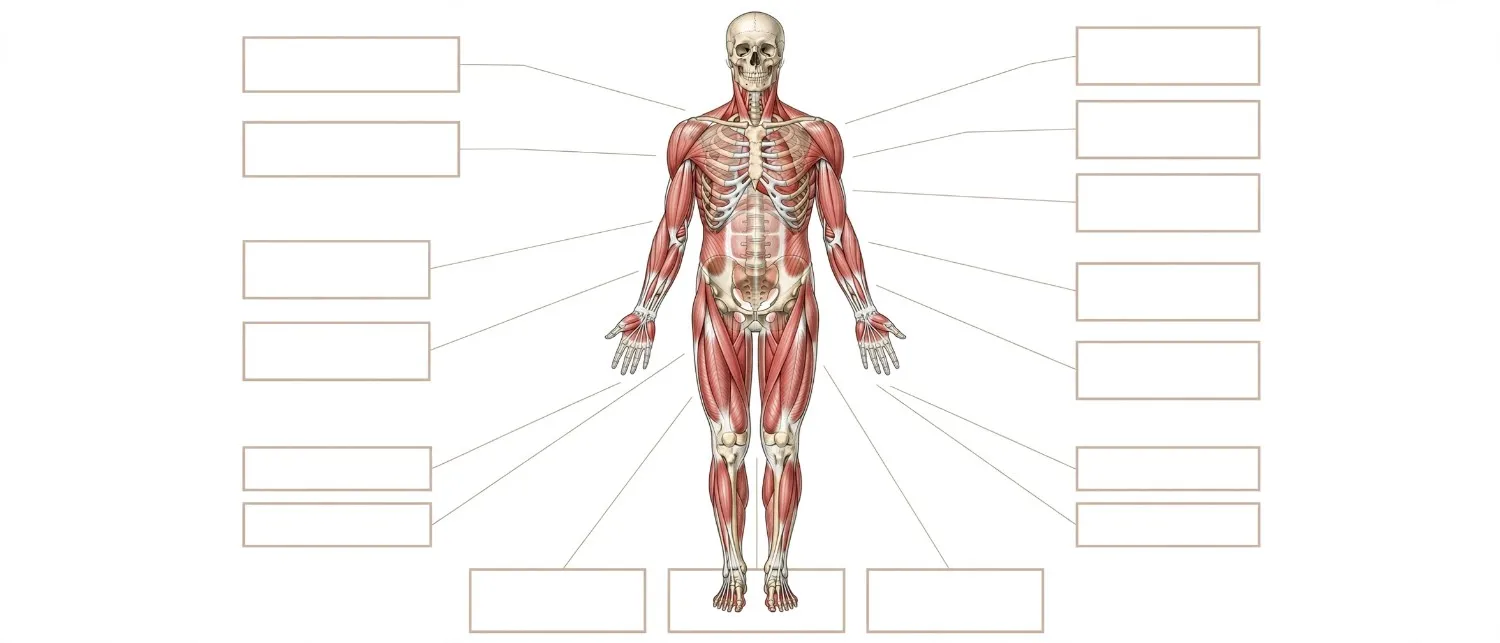
Step 6: Nomenclature Labeling and Clinical Annotation All structures are labeled using Terminologia Anatomica-compliant nomenclature, with leader lines placed to connect unambiguously to the depicted structure without occluding adjacent anatomy. Clinical correlation annotations are added at this stage.
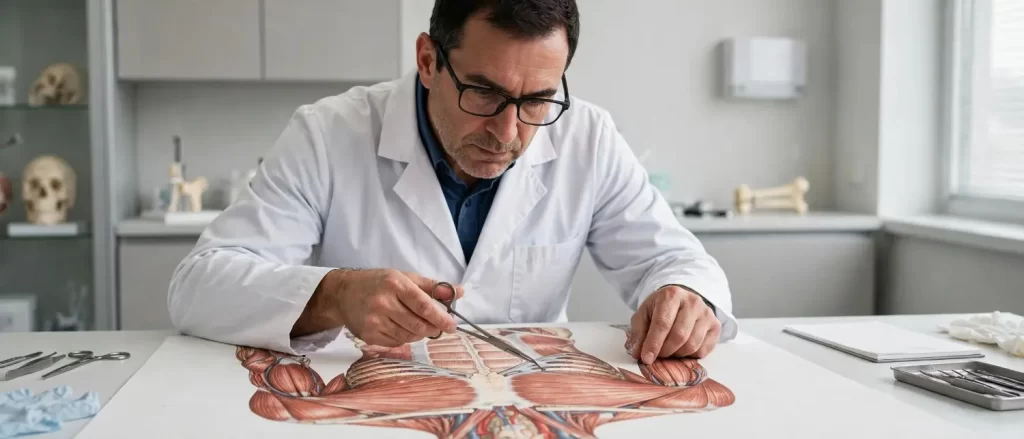
Step 7: Expert Anatomical Review The completed draft is reviewed by a qualified anatomist, clinician, or subject-matter expert – not only by the client’s editorial team. For textbook-level work, this review may include multiple specialist reviewers covering different aspects of the depicted anatomy (gross structure, vascular supply, innervation accuracy).
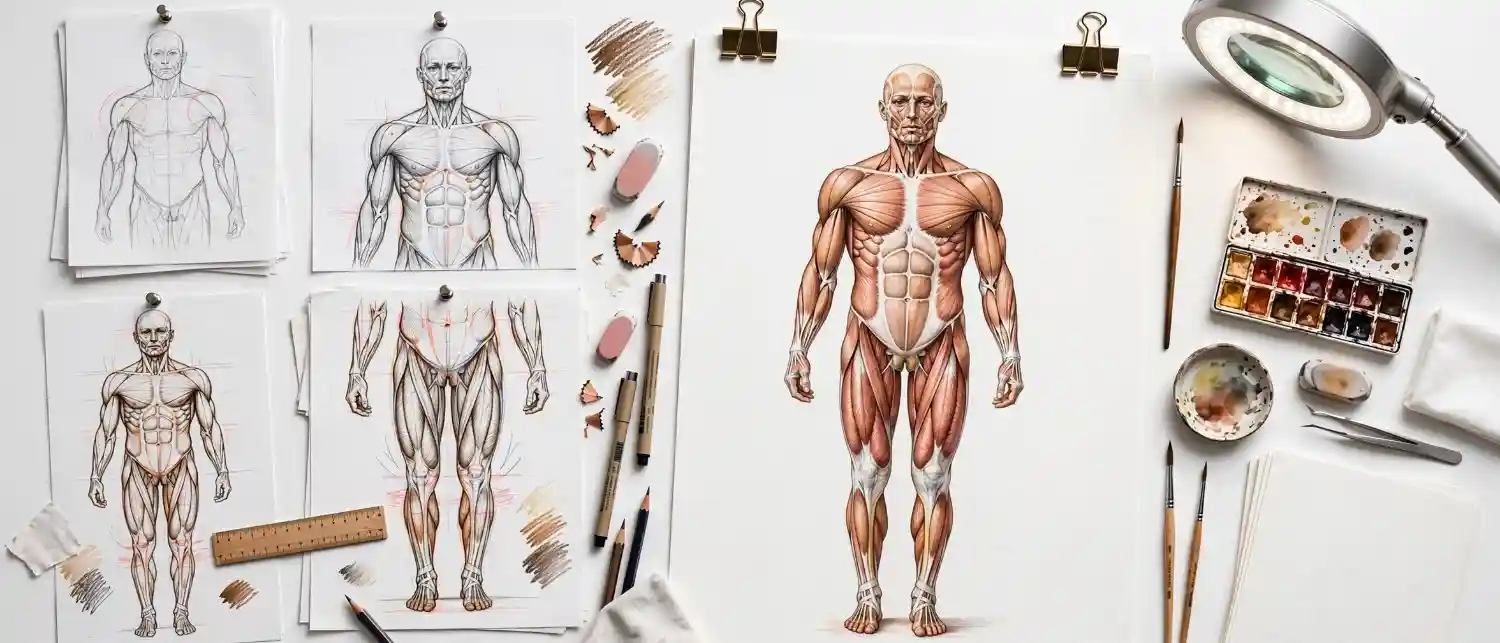
Step 8: Revision and Finalization All expert reviewer feedback is incorporated through structured revision rounds. A professional anatomy illustration studio provides unlimited revisions until every anatomical, clinical, and stylistic criterion is met.

Step 9: File Delivery in Publication Formats Final illustrations are delivered in all required formats: high-resolution TIFF at 300 DPI minimum for print publication, vector EPS or PDF for scalable digital use, optimized PNG for lecture and web use, and layered source files for future editorial adaptation. Full intellectual property ownership transfers to the commissioning organization or publisher.
Common Mistakes in Human Anatomy Illustration Commissioning
These errors consistently undermine the educational and clinical value of anatomy illustration projects.
- Referencing outdated anatomical sources – Anatomical nomenclature and structural understanding evolve with each edition of the major atlases. Illustrations produced from outdated references perpetuate nomenclature errors and structural misrepresentations that anatomy educators must then correct.
- Specifying views that misrepresent spatial relationships – Requesting a strictly anterior view of the posterior mediastinum, for example, produces an illustration that shows the correct structures but misrepresents their clinically critical spatial relationships. The illustrator should advise on viewing plane selection; the client should specify the educational purpose and allow the illustrator to recommend the optimal view.
- Omitting clinical correlation from the brief – A pure structural diagram of the brachial plexus communicates differently from one that also shows the clinical distributions of each terminal nerve, the sites of common injury, and the functional deficit of each nerve lesion. If clinical correlation is required, it must be specified in the brief.
- Using the same illustration for incompatible audiences – A medical student gross anatomy illustration is inappropriate for a patient consent discussion. A patient-facing diagram is inadequate for surgical training. Audience-specific calibration is not optional; it is the most fundamental brief-stage decision in any anatomy illustration project.
- Confusing artistic style with anatomical accuracy – Some commissioning teams prioritize a specific visual style without recognizing that certain stylistic choices (heavy stylization, non-standard color palettes, illustrative abstraction) compromise the anatomical accuracy that makes the illustration useful. Style decisions should always be subordinate to accuracy requirements for any clinical or educational application.
- Neglecting journal submission format requirements – Anatomy illustrations prepared for research publications must comply with the specific figure preparation guidelines of the target journal. These guidelines cover image resolution, file format, labeling style, and color mode. Preparing illustrations without reference to these guidelines produces expensive resizing and reformatting at the submission stage.
For anatomy illustrations destined for journal submission, the detailed guide to journal submission standards for anatomy figures covers format requirements across the major medical and anatomy publishing platforms.
Expert Tips for Medical Professionals Commissioning Anatomy Illustration
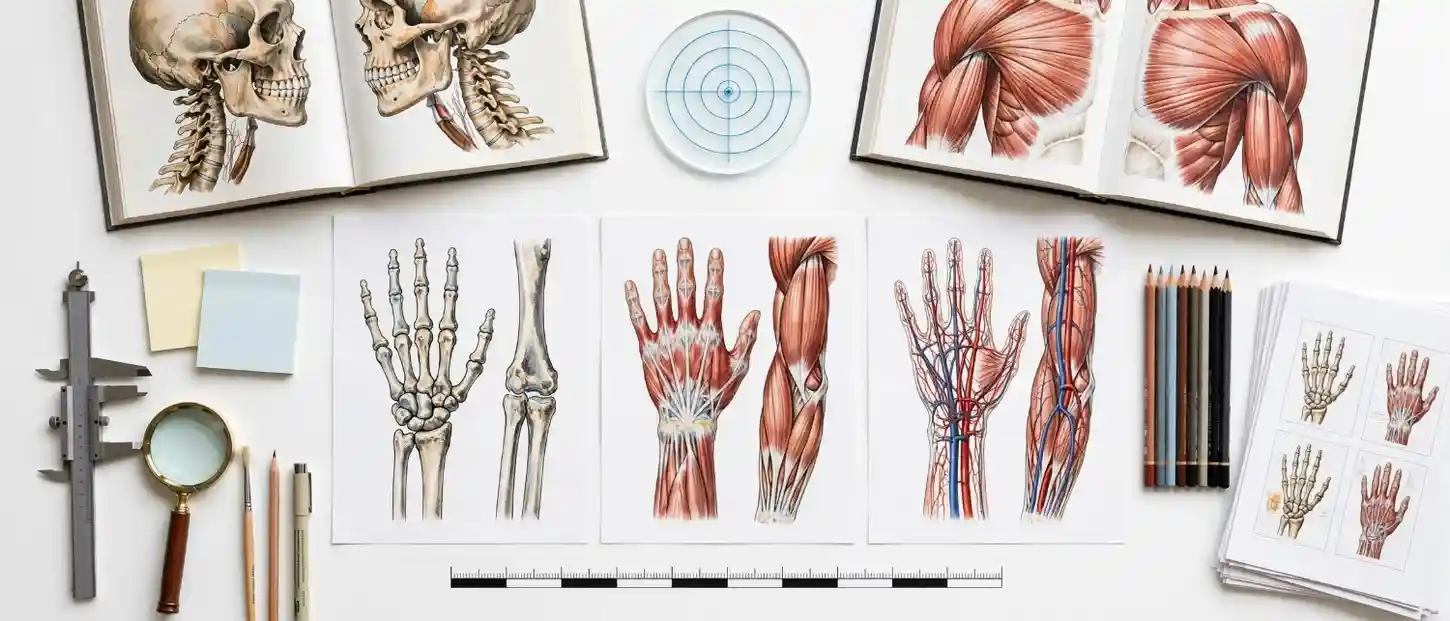
These recommendations apply across medical school anatomy departments, clinical publishers, surgical training program developers, and healthcare communication teams.
- Lead with the educational objective, not the anatomical subject – The brief should specify what the learner or clinician should understand after viewing the illustration, not simply which structure to depict. “The viewer should understand the three-dimensional relationship between the femoral nerve, artery, and vein within the femoral sheath and triangle” is a more useful brief than “please illustrate the femoral triangle.”
- Provide your reference atlas of record at the brief stage – Different anatomy atlases represent structures slightly differently, particularly in areas of anatomical variation. Specifying your reference atlas of record (Gray’s, Netter, Sobotta, Moore) at the brief stage ensures that the illustrator’s structural decisions align with your teaching curriculum’s visual conventions.
- Commission illustration series rather than individual plates – Isolated anatomy illustrations lack the spatial context that makes them educationally powerful. A series showing a region in anterior, posterior, and cross-sectional views, with consistent labeling and color conventions, communicates anatomy far more effectively than a single isolated plate.
- Plan for scale bar inclusion from the brief stage – Histological and ultrastructural anatomy illustrations require scale bars to communicate the magnification level of the depicted structures. This requirement should be specified at brief stage, as it affects both the composition and the label placement of the final illustration.
- Require layer-separated source files for digital platforms – If anatomy illustrations will be used on digital learning platforms, e-textbooks, or interactive study tools, request layer-separated source files that allow individual anatomical layers to be toggled on and off. This format multiplies the educational utility of every illustration produced.
- Verify anatomical variation coverage at the brief stage – Many anatomical structures exhibit clinically significant variation. An atlas of the celiac axis that depicts only the most common branching pattern, without noting variant anatomy, can produce clinical misidentification in real surgical encounters. Specify whether and how anatomical variation should be addressed in the illustration brief.
Human Anatomy Illustration vs. Medical Photography: Comparison Table
| Criteria | Human Anatomy Illustration | Medical Photography and Cadaveric Imaging |
|---|---|---|
| Spatial relationship communication | Exceptional: layers shown simultaneously in any configuration | Limited: shows one dissection state; layers destroyed during access |
| Structural clarity | Excellent: unwanted structures omitted; relevant ones emphasized | Variable: affected by specimen quality, lighting, tissue preservation |
| Clinical correlation annotation | Fully integrated into design | Requires post-production overlay |
| Color convention compliance | Standard anatomical conventions applied by design | Actual tissue colors; does not follow educational conventions |
| Viewing angle flexibility | Any anatomical plane, any depth layer, any combination | Limited to dissection approach; no internal transparency possible |
| Audience calibration | Fully adjustable: detail level controlled per audience | Fixed by dissection; same image for all audiences |
| Reproduction for publication | Meets all journal and textbook resolution standards | Variable; dependent on photographic equipment and lighting setup |
| Intellectual property ownership | Full transfer on delivery | Tissue sourcing, ethics approval, and photographic rights complicate IP |
| Anatomical variation depiction | Can show typical and variant anatomy in one composition | Requires separate specimens |
| Long-term educational utility | Indefinite: does not degrade or become unavailable | Limited by specimen availability and institutional access |
Frequently Asked Questions About Human Anatomy Illustration
What is human anatomy illustration?
Human anatomy illustration is the creation of scientifically accurate visual representations of the human body’s structural organization – covering gross anatomy, histological microstructure, surface anatomy, cross-sectional anatomy, and functional biomechanics – for use across medical education, textbook and atlas publishing, clinical training programs, surgical procedure guidance, patient communication, and healthcare professional development. It requires illustrators with formal biomedical training, deep anatomical knowledge, and mastery of both traditional and digital illustration techniques calibrated to clinical accuracy standards.
How is human anatomy illustration different from a medical photograph?
Medical photography captures a single dissection state, a specific specimen condition, and a fixed viewing angle. Human anatomy illustration, by contrast, can simultaneously depict multiple structural layers in a single image, apply standard anatomical color conventions, omit irrelevant structures to emphasize key relationships, annotate clinical correlations directly within the composition, and calibrate the level of detail precisely to the intended audience. These capabilities make illustration educationally superior to photography for the vast majority of anatomy teaching applications, despite photography being more realistic in appearance.
What body systems can be depicted through human anatomy illustration?
All major body systems can be comprehensively illustrated: musculoskeletal, cardiovascular, neurological (central and peripheral), respiratory, digestive, urinary, reproductive, endocrine, lymphatic, and integumentary. Additionally, specialized illustration categories cover cross-sectional anatomy, embryological development, surface anatomy landmarks, histological microarchitecture, surgical anatomy approach planning, and pathological anatomy (depicting how disease alters normal structural relationships).
Who uses human anatomy illustration professionally?
Medical professionals who rely on human anatomy illustration include: anatomy educators at medical and health sciences universities, medical textbook and atlas publishers, clinical training program developers, surgical simulation curriculum designers, physiotherapy and allied health educators, clinical skills center managers, patient education specialists at hospitals and health systems, medical legal illustrators preparing expert witness exhibits, digital health and medical application developers, and clinical publisher editors across all major medical specialties.
What qualifications should a human anatomy illustrator have?
A qualified human anatomy illustrator should hold a graduate degree in biomedical visualization, medical illustration, or an equivalent discipline from an accredited program – such as those overseen by the Association of Medical Illustrators (AMI) in North America or the Institute of Medical Illustrators in the UK. Beyond formal qualification, a professional anatomy illustrator should demonstrate: proficiency in standard anatomical reference atlases, familiarity with Terminologia Anatomica nomenclature, demonstrable experience across multiple body systems, and a portfolio of work produced to textbook or clinical publication standard.
How long does a human anatomy illustration take to produce?
Timeline varies with complexity and scope. A single regional anatomy illustration with full labeling typically requires 5-10 business days. A complex multi-layer neuroanatomy plate with cross-referencing views requires 2-3 weeks. A comprehensive body system series covering anterior, posterior, and cross-sectional views of a major anatomical region typically requires 4-8 weeks. A full anatomy atlas chapter with consistent style across multiple plates may require 3-6 months, depending on the number of plates, review cycles, and complexity of the systems depicted.
Can human anatomy illustrations be used in published medical textbooks and journals?
Yes. Human anatomy illustrations are a core visual component of medical textbooks, anatomy atlases, clinical handbooks, and surgical training manuals worldwide. For journal publication, figures must comply with the specific submission guidelines of the target journal, covering image resolution (typically 300-600 DPI minimum for print), color mode (CMYK for print, RGB for digital-only), file format requirements, and figure legend standards. The detailed overview of the foundational principles of medical illustration as a professional discipline provides additional context on the professional standards governing published anatomy work.
What is the difference between 2D and 3D human anatomy illustration?
Two-dimensional anatomy illustration produces flat, print-compatible visual representations that communicate structural relationships through conventional techniques: layer-by-layer transparency, cutaway views, and standardized color coding. Three-dimensional anatomy illustration produces volumetric, spatially navigable representations that can be viewed from any angle, rotated, and dissected layer by layer in interactive digital formats. Both have distinct applications: 2D illustration is optimal for print textbooks, journal figures, and patient handouts; 3D illustration is optimal for interactive digital learning platforms, surgical simulation, and applications where multi-angle spatial comprehension is the primary educational goal.
Human Anatomy Illustration Is the Foundation of Medical Education
The history of medicine and the history of anatomical illustration are inseparable. From Leonardo da Vinci’s cadaveric dissection drawings to Henry Vandyke Carter’s functional diagrams for Gray, from Frank Netter’s oil-painted clinical atlases to today’s layered digital 3D anatomical models – every advance in anatomy illustration has directly supported a corresponding advance in medical education, clinical training, and patient care.

Human anatomy illustration endures not because it is traditional, but because it is irreplaceable. No other visual medium can simultaneously depict multiple anatomical layers, apply clinical correlation, respect established color conventions, maintain structural accuracy across all body systems, and calibrate detail to any professional audience – all within a single, reproducible, publishable image.
For medical educators building curriculum resources, publishers developing new atlas editions, clinical training developers designing simulation programs, surgeons preparing patient consent materials, and researchers producing figures for high-impact anatomy journals, the quality of the anatomy illustration that represents the human body determines how clearly that body’s science is understood – and how confidently it is applied in clinical practice.
Well-executed human anatomy illustration is not a support resource for medical education. It is medical education’s visual infrastructure.
Commission your anatomy illustration project today with The Medical Illustration Company – and receive anatomically validated, clinician-reviewed, revision-unlimited human anatomy illustrations delivered at competitive rates, in all required publication formats, with full intellectual property ownership on delivery.